

A DIY tutorial for how to install moroccan peel & stick vinyl tiles. Less messy than paint. Less time-consuming and less expensive than real tile!
Happy Eclipse Day! Olivia and I are wearing matching welding helmets in our backyard today while Robert is at work being forced to hide from the sun. (Juuuust kidding about the welding helmets. I wish we were that cool.)
Anyways, I’m losing my train of thought over here. Back a couple of months ago when I was dreaming all-things-laundry-room, I mentioned how I hoped to paint our gross vinyl floor.
(Want to see this room’s final reveal? Click here to see the full tour.)
We painted the walls, we painted the cabinets, we painted the ceiling and the trim. If you stand still in this room long enough, I will paint you.
I’ve heard of so many rockstar DIYers having success painting vinyl floors with those pretty Moroccan style stencils, and I figured I’d take a stab at it. Buuuuut then I found a less messy, less smelly, less time-consuming (hopefully more durable) solution that I’m loving even more- vinyl Moroccan tile. Yassss!
I debated a lot (and even shared a whole slew of my faves), but I landed on a clean black and white pattern to add some va-va-voom… and also help hide any dirt we traipse in here since this room is our big workhorse of the house.

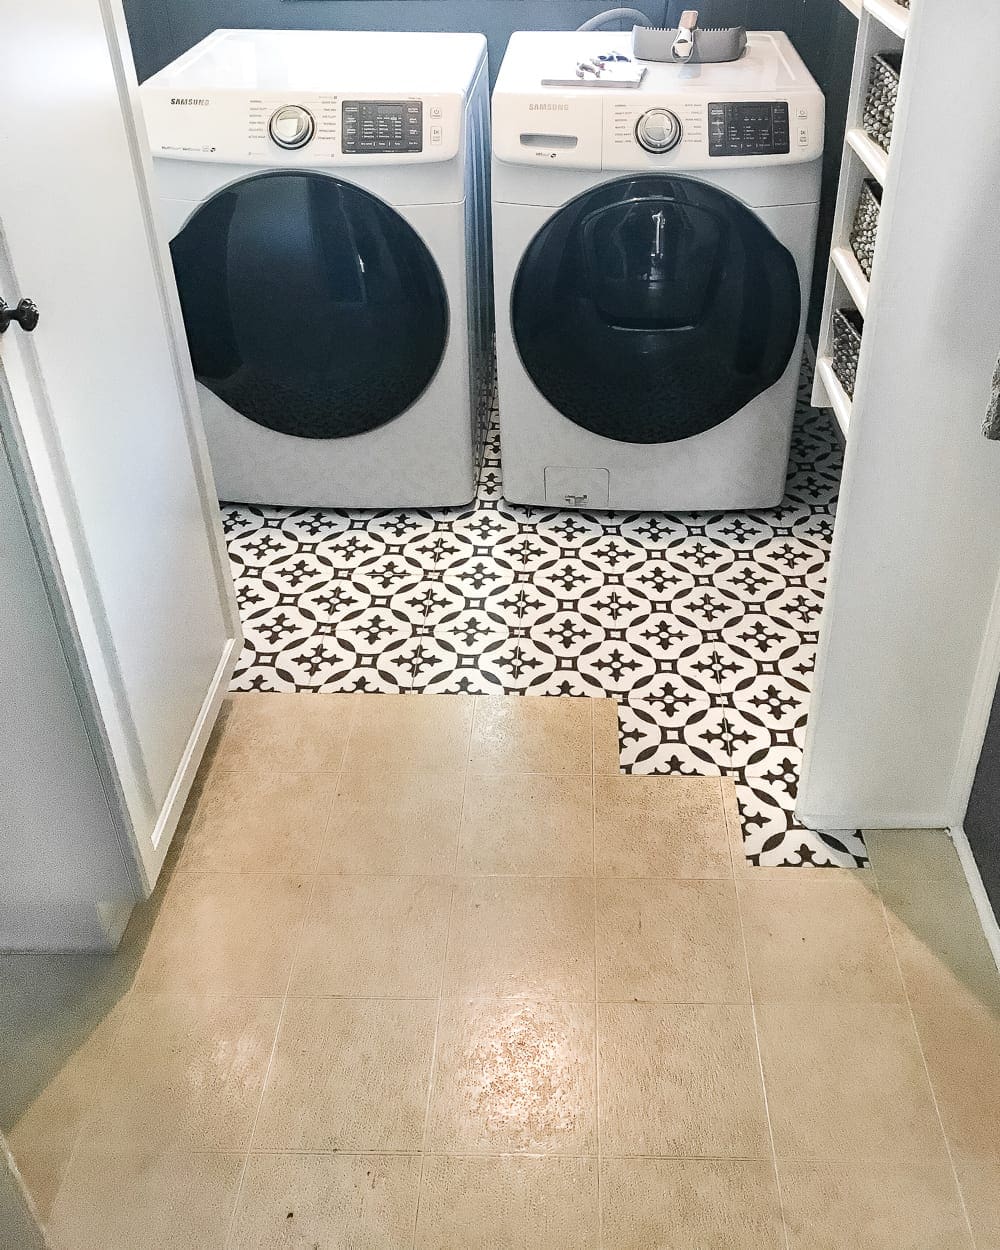
Here’s how the floor started.

Womp womp. Not cute.
We’re hoping in a few years we can do more of a Phase 2 renovation where we rip out the 1960s cabinets, reconfigure them to create better flow in this space, and add real tile in here. But for now, we’re cool with a quick cosmetic fix.
So here’s the skinny on how we installed the vinyl tiles.
Supplies Used: (Some affiliate links are provided below for convenience.)
To make sure we started with a totally clean slate, I swept the old vinyl floor first and scrubbed them with the Krud Kutter TSP. Then, let dry.
We started installing the tiles in the spot that would go underneath the washer and dryer so we could get the hang of it. Since the old vinyl flooring already had straight lines on it, we were able to use that as a guide to keep the vinyl tiles straight.
If you don’t have lines on existing vinyl to help you though, use a chalk line to create a starting point since walls aren’t always completely straight.

Just peel the backing, lay it straight, and smooth it out with the wallpaper smoother tool. We didn’t run into any issues at all with bubbling, so the wallpaper smoother tool might have even been overkill. Good to be thorough though.

When we got to tricky spots where we had to trim the pieces, we just folded the tile where we needed it to crease and used a utility knife to cut it. For really complicated obstacles, we used a piece of paper backing as a template to trace with pencil and trim the tile.

The whole process took just a couple of hours as opposed to a couple of days like painting the floors would have been.
The floor ended up not being 100% perfect. Some of the patterns didn’t fully align by a millimeter or two, and we left about a 1/8″ gap between the tiles to make it appear to have grout. But anything was an improvement from the icky floor before.

After 24 hours of allowing the adhesive to cure, they can be mopped and walked on.

Once we were finished, we had to scoot the washer and dryer across the floor and not a single tile budged!
We’ve been in and out of this room for nearly two weeks now, and it’s held up perfectly so far.

I’m SO amazed how they turned out! If we ever get tired of the pattern, it won’t be nearly as difficult to change up as laying real Moroccan cement tile would have been. I don’t see us replacing them for a very long time though.

I still have some organizing solutions to figure out in here along with swapping out the florescent light, but we’re very close to calling this space finished!
If you want to know about any of the other sources or projects we’ve done in the laundry room, here’s the full rundown:
Have you ever used these vinyl peel and stick tiles before? Or ones like them? Did they hold up okay in the long run? I’m sure I’ll report back in about 6 months with a final verdict of their durability. Crossing my fingers and toes over here!
If you want to save this post for later, you can pin it here:


