A small, windowless breakfast nook transformation with Parisian bistro decor, thrifted furniture, and DIY projects + a budget breakdown.
Okay, you got me.
Technically, I don’t know what style you’d call the finally finished breakfast nook, but between the DIY bistro table, the French striped upholstery, herringbone floors, and the aged brass fixtures, this space somehow culminated into a Parisian bistro right in our kitchen…

See the full breakfast nook / kitchen reveal here!
And see kitchen facelift budget breakdown here!
Parisian Bistro Breakfast Nook Before and After
I think my brain did this whole Parisian bistro thing by accident really, but I am here for this before and after!


Breakfast Nook Decor Sources
So I’ve pulled together all of the DIY tutorials, thrifted makeovers, paint colors, and decor sources in this post if you ever want to replicate some of it in your own home. A full budget breakdown is at the end of this post too.
Herringbone Vinyl Flooring
Tutorial | How to Install a Herringbone LVP Floating Floor Over Tile
Since this breakfast nook’s old tile flooring couldn’t be removed until we completely renovate our kitchen one day, we chose to float this herringbone vinyl flooring on top of the existing to hold us over for several years.
I absolutely love the end result! Our DIY installation took about 4 days, and it was absolutely worth the work.

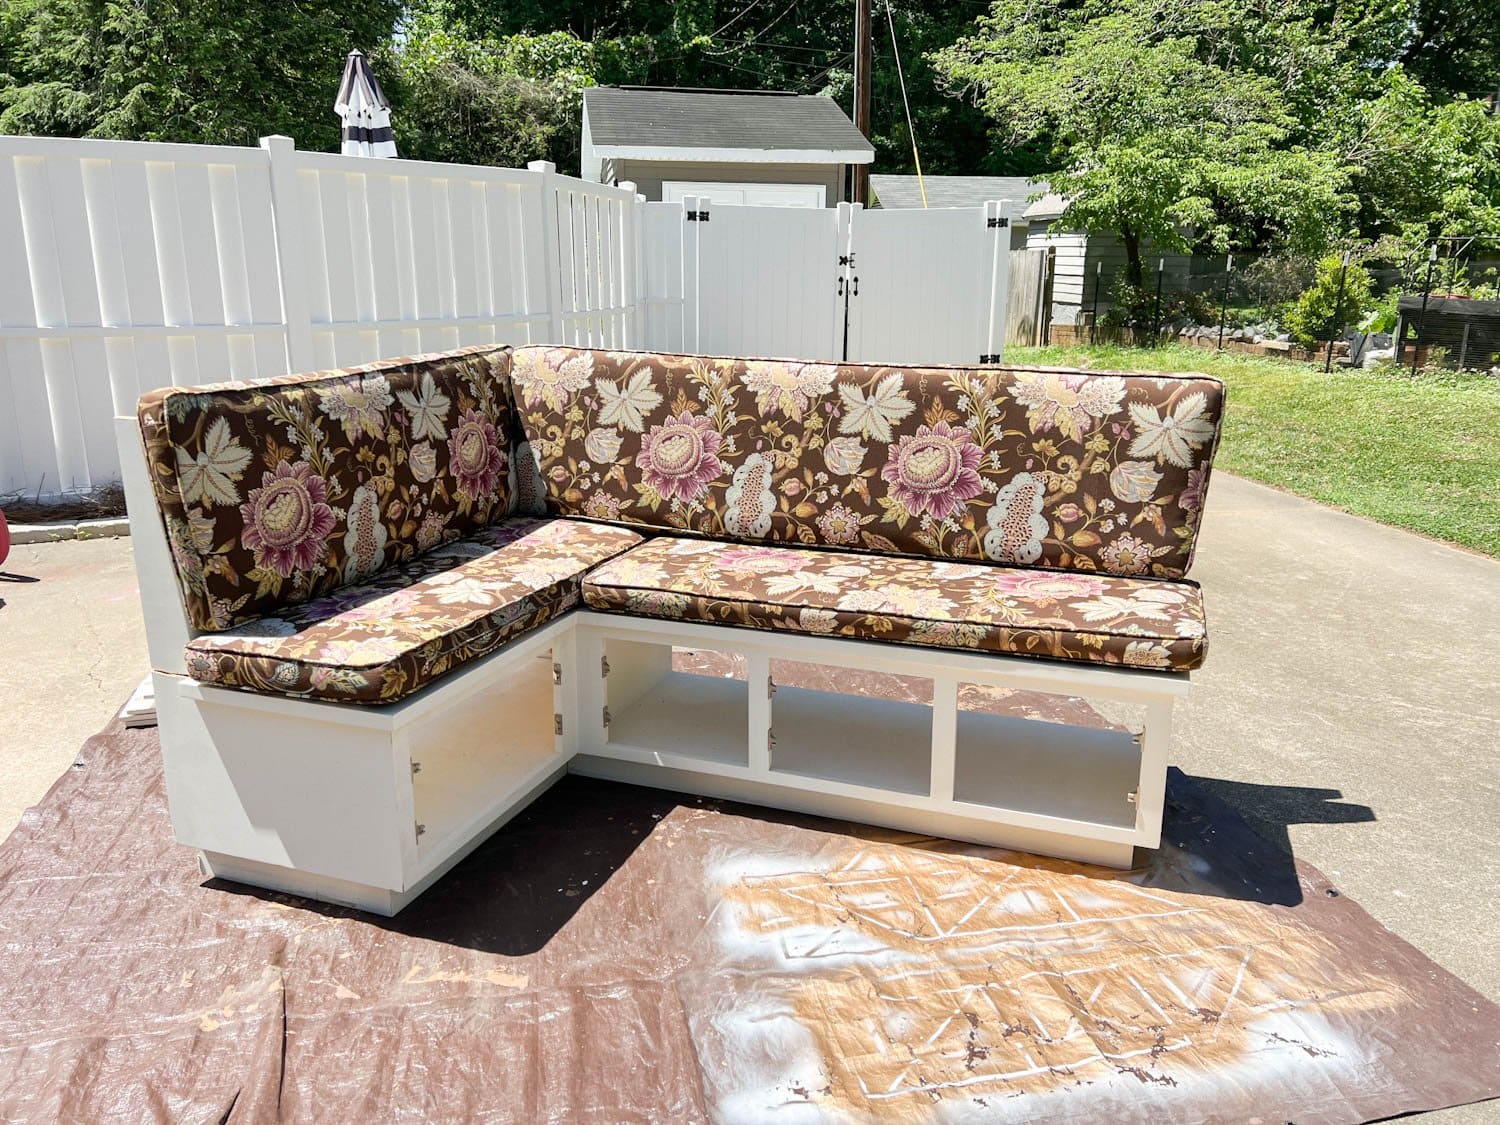
Banquette Bench
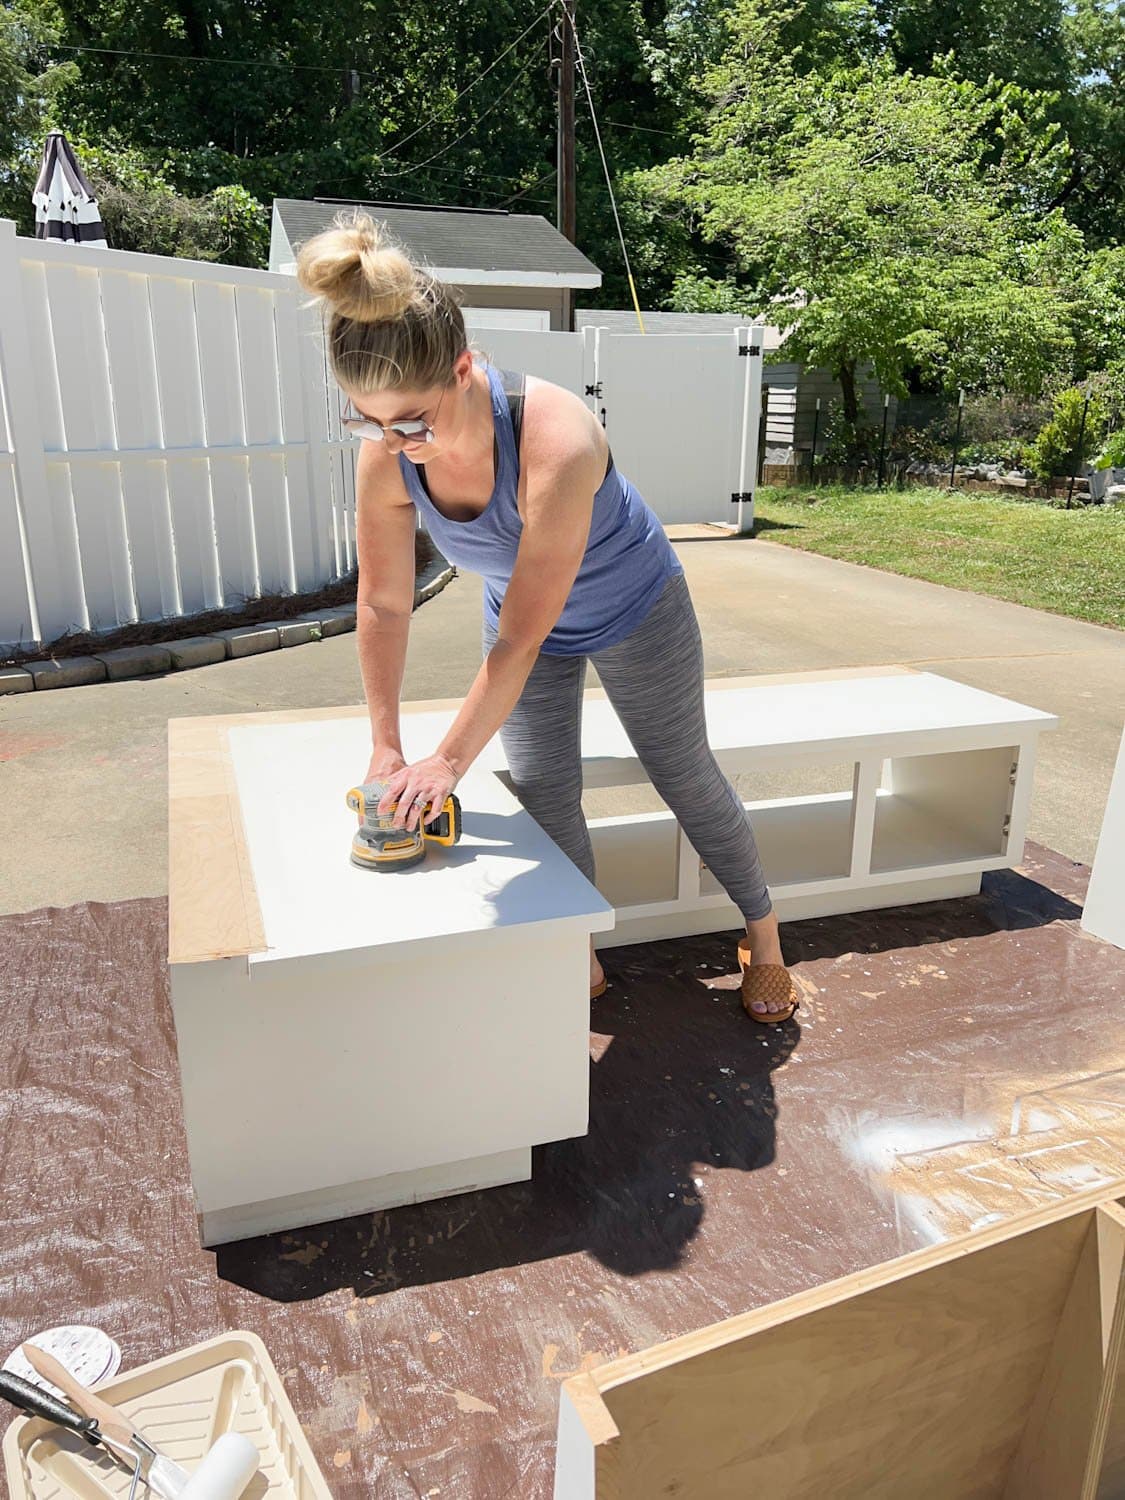
Tutorial | Corner Banquette Makeover + How to Redirect Air Vents Under Cabinets
Additional Sources | Gorgeous Banquette Bench Seating for All Budgets
This banquette bench I found on Facebook Marketplace with custom cushions included was just $350! And it fit this corner breakfast nook space within just inches!
I still can’t believe how custom it looks. It’s like this banquette was built exactly for this corner.
Since I knew our kids would be slinging food and spilling drinks all over these cushions, I found this high performance striped charcoal Crypton upholstery fabric for 75% off that repels stains better than any fabric on the market!
I did pay $300 to have a local upholstery shop recover the cushions (since I have next to zero sewing skills). It was absolutely worth hiring a professional to do the job since these custom cushions would have easily cost 4 times that amount brand new.


Bamboo Dining Chairs
Tutorial | How to Reupholster Dining Chair Seats + Faux Bamboo Chair Makeover
Since we needed a couple of dining chairs on the other side of the banquette, I scored these bamboo chairs on Facebook Marketplace for about $50 each.
After reupholstering the seats with leftover fabric from the banquette cushions and spray painting the chair frames, they came to about $60 each.
I love how much charm they add with a nod to chinoiserie Chippendale.


DIY Parisian Bistro Pedestal Table
Tutorial | DIY Faux Marble Dining Table in Under an Hour
After searching for WEEKS for a dining table to fit this long, narrow breakfast nook space, I came up totally empty.
So instead, we repurposed an IKEA countertop and cast iron table legs from Amazon to achieve the look of this $3,400 bistro table for just $385.
The best part? Because the top is made of laminate, we have no concerns about real marble staining or etching as our kids beat it up over time. Yay for durability!


Lighting
Additional Sources | The Best Vintage Wall Sconces for All Budgets in Every Room
Additional Sources | Shaded Chandeliers for All Budgets: Splurge vs Save
Choosing the right chandelier and wall sconces in this breakfast nook was absolutely crucial. Because this small space has no windows, layering multiple sources of light helps to increase the cozy factor.
This linear chandelier was the perfect choice to fit over such a narrow, long table. These vintage style brass wall sconces added a little bit of whimsy to highlight the wall art and serve as a much-needed additional light source.

Free Wall Art
Free Printable | Free Oil Painting Kitchen Art Prints
Digging through public domain archives to find free art is so much fun, so in my search, I stumbled upon this gorgeous antique oil painting image file with the exact color scheme I needed for the breakfast nook.
I printed the art on matte poster paper at Office Depot for $20, put it onto a piece of foam poster board, and taped it into a $5 gold picture frame I snagged at the thrift store.

Batten Wall Molding
Tutorial | Inexpensive DIY Batten Wall Using Lattice Strips
To add an architectural element without spending a ton, we used a money-saving trick adding lattice strips for DIY batten walls.
These two walls in this corner breakfast nook together cost just $85 to add the small molding details that made a huge textural impact.

Breakfast Nook Decor Sources and Budget Breakdown
Voila! Done! Here’s a full list of all of the sources and paint colors we used.
- Contracted Carpentry Labor to Move Door – $550
- Contracted Electrical Labor to Wire Sconce Boxes and Move Chandelier Box – $694.66
- Banquette (for bench/cushions, fabric, upholstery labor, paint & supplies) – $977.50
- Dining Chairs (for chairs, fabric, and paint) – $120
- Bistro Table – (for countertop, legs, and paint) – $385
- Herringbone Floor – (for breakfast nook area only) – $325.94
- Chandelier – $220
- Sconces – $59.99
- Batten Walls – $85
- Wall and Trim Paint – Benjamin Moore Chantilly Lace – $69.99
- Door Paint – Romabio Paints Celtic Stone – $30.97
- French Bifold Door – $398.19
- Art Printing – $19.99
- Picture Frame – (similar linked) $4.99
- Vase – $28
Total: $3,970.22
We maybe could have done it a little cheaper if we had tried installing the electrical boxes and moving the door ourselves, but we know our DIY limits. Even though hiring those two contracted jobs cost $1,244 together, it was worth handing off to the professionals.

The Finished Breakfast Nook
So we now have a fully completed breakfast nook where we can fit 6-8 people around the table instead of just 4!
We have so much more room for better traffic flow. We have necessary storage underneath the banquette. And the style of this room makes so much more sense with the rest of our house now!
The girls absolutely love sprawling across the bench cushions as we eat breakfast and dinner together here every day. They’re so excited to have more room for their friends to fit now when they come over (and so are we).

The Breakfast Nook’s Gradual Transformation Over 5 Years
Just for fun, I have to laugh at the many phases this breakfast nook has been through since we moved into our house 5 years ago.
It’s all definitely proof to me that sometimes it takes a lot of mistakes, a lot of trial and error, and a lot of time to get it right. But FINALLY for the first time, this room feels like it was always meant to be.
It’s okay if our style evolves, if our needs change, if we go through a slight identity criss, if it takes a long time to think, plan, and save up for the big project we’ve always wanted to do.
Life isn’t an HGTV show, and that’s perfectly fine. That’s perfectly normal!
This breakfast nook saw every style: shabby farmhouse, modern rustic, transitional minimalist, Parisian bistro…


We’re still not quite finished since that door accessing our garage will eventually become an interior pocket door after an addition is put in (whenever that will be).
I wouldn’t change this breakfast nook’s journey for anything. Because it taught me patience, identity, hard work, and determination. These rooms really do transform us along the way just as much as we transform them.
What do you think? Did we FINALLY nail it? (Please say we did because I’m not doing this again. Haha!)
More Dining Room Ideas


